6.1
Creating the local repository
Let’s start with a very simple example, a single page website with a picture; I’m going to call it lab-01-website. This is the same website I discussed in a theoretical fashion in section 2.2.1. I’m now going to build it for real using Brackets†1.
| †1 | I’m just going to refer to it as Brackets rather than Bracket-Git or Brackets with Git. When I say Brackets, I mean Brackets equipped with the Brackets-Git extension installed (see § 5.1). | ||
On my machine (as I’ve said before) I keep all my Git repositories under a single directory, that directory is on my D: drive and is called 2500 Git Projects. Like this:
D:\2500 Git Projects
I need a new empty directory to keep the repository in. Using Windows Explorer I’ve created a lab-01-website folder under the 2500 Git Projects directory, thus:
D:\2500 Git Projects\lab-01-website
It looks like this in Windows Explorer (Figure 6.1):

Figure 6.1 A new folder for the repository
The next thing is to open the new folder in Brackets, the easiest way is to just right click the folder in Windows Explorer and select :
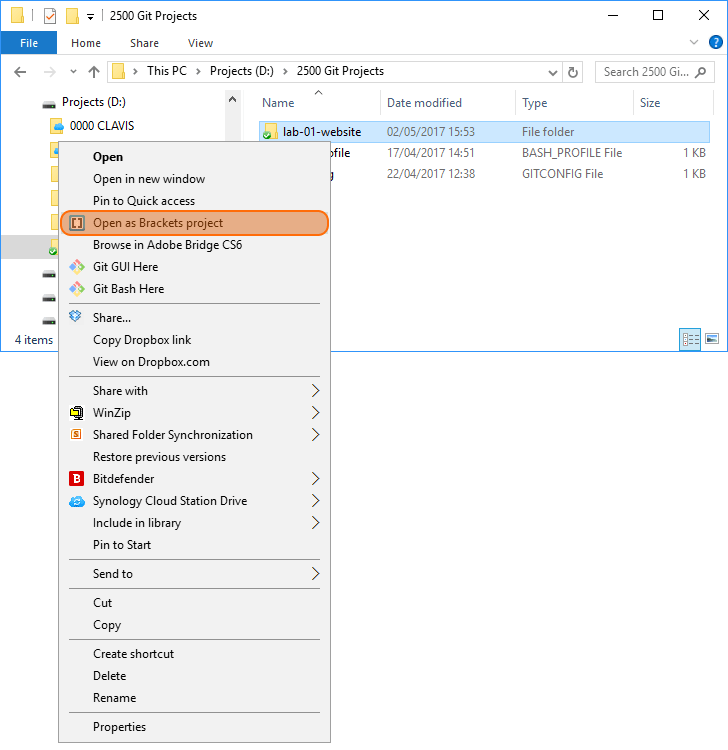
Figure 6.2 Open the new folder in Brackets
This can also be done from within Brackets, click and navigate to the newly created lab-01-website folder and click select folder.
Either way, you will have an empty folder open in Brackets. It should look like this:
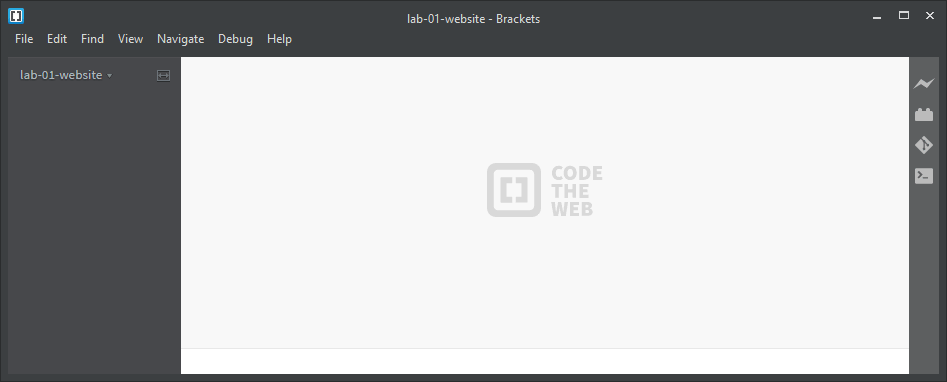
Figure 6.3 lab-01-website project in Brackets
At this point, all we’ve done is create an empty folder and open it in Brackets. The next thing is to initialise the folder and make it a Git repository.
Click the icon ( ) on the right hand sidebar, the icon will turn blue and the Git interface window will open in the bottom pane of the Brackets window (Figure 6.4), I call this the Git pane:
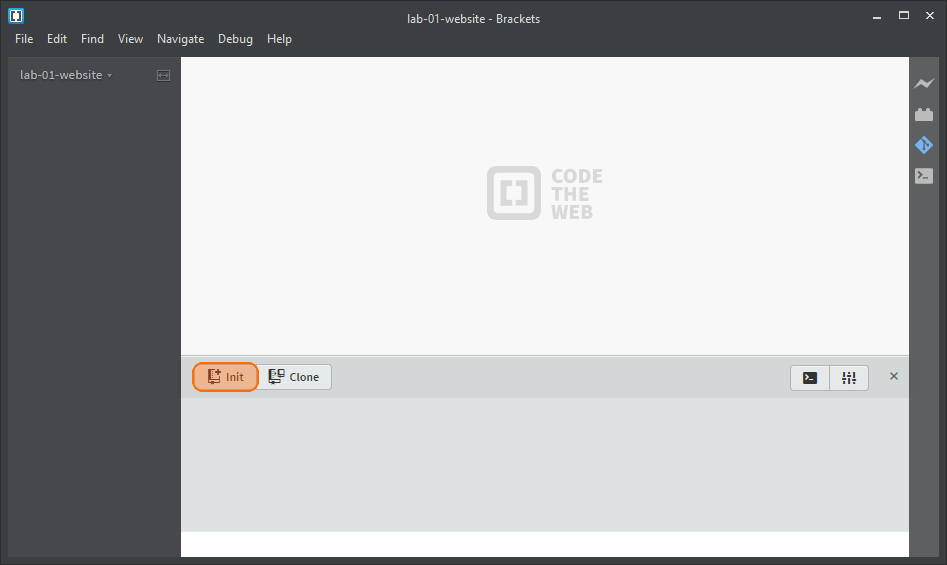
Figure 6.4 Initialise the repository
Click the button and this will initialise the repository. It will do two things: it will create the .git folder inside the lab-01-website making this a Git repository. It also creates a .gitignore file.
The .git folder can be seen by navigating to lab-01-website (hidden folders must be set to be visible in Windows Explorer):
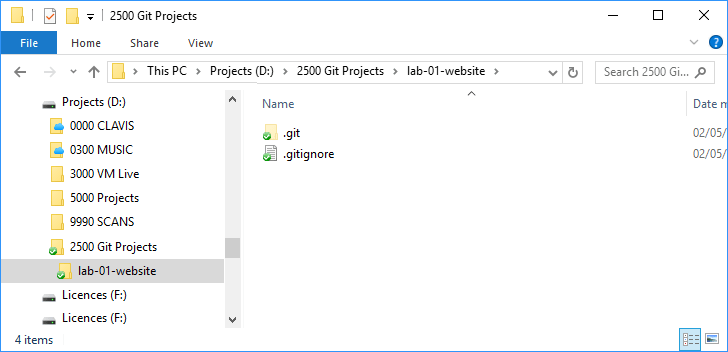
Figure 6.5 The local repository in the new folder
Let’s look at what we have in Brackets (Figure 6.6):
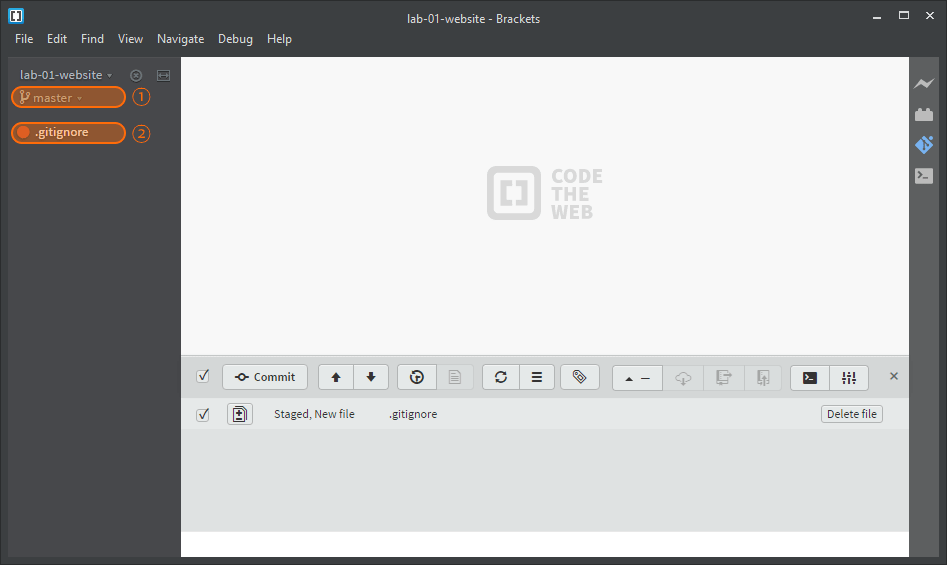
Figure 6.6 A newly created repository in Brackets
There are a couple of things to notice. Firstly a local repository has been created and the active branch is master (point 1 in Figure 6.6).
Secondly, the new .gitignore file is showing in Brackets (point 2 in Figure 6.6).
The .gitignore file is used to exclude certain files from the Git repository (see § 2.7). Brackets has also detected the presence of the file and wants to add it to the repository. It is flagged as staged in the Git pane:

Figure 6.7 Staged files
Don’t commit the changes yet, I want to do some work before we commit anything (I go through commits in § 6.3).
So there we are, we’ve created a new Git repository (and, best of all, we haven’t had to use the command line).
