3

3Installing Git

3.2

Downloading everything else

Ok we’ve got Git, but that’s just the start. We need a text editor and we need some sort of program for finding and merging differences in files. Then we need to set these as the default editor and merge tools in Git.

Taking these in turn:

3.2.1

A default text editor for Git

I’m a big fan of Brackets; I use it for all my web development stuff. I wax lyrical about it here. The only problem is that it doesn’t play nicely with the Git Bash command line; specifically it won’t create a new file from the command line which is a bit of a problem for Git†1. My next favourite is atom but this also has problems with Git, It’s difficult to set up as the default editor: under Windows, Git won’t wait for Atom to close before continuing; again this is a problem for what we want to do.

So I used my third favourite notepad++. I will still use Brackets for all the web development and I will also use it to manage Git and GitHub repositories. I will just use Notepad++ when creating or editing files directly from the Git Bash command line (that thing you can see in Figure 3.10)—hopefully this won’t be too often, the whole point is to manage everything through Brackets and not have to bother with the command line stuff. Unfortunately, we need to use the command line stuff to get everything set up (that’s what we’re doing now).

I recommend you install both Brackets and Notepad++; I’ve already covered the Brackets installation on a previous posting: getting and installing brackets (I cover the main points in appendix A). I look at installing Notepad++ below:

Notepad++ is available from the download page of the notepad-plus-plus.org website. I’m currently using version 7.5.7 (32 bit) for Windows. It is very easy to get, just click download on the main page and then the big green download button on the download page (see Figure 3.11).

  • It’s hard to keep up with the current version, there is a new release every couple of months — it never looks any different though, not sure what all the changes are? — I recommend you just use the latest.
Figure 3.11 - Notepad++ text editor download

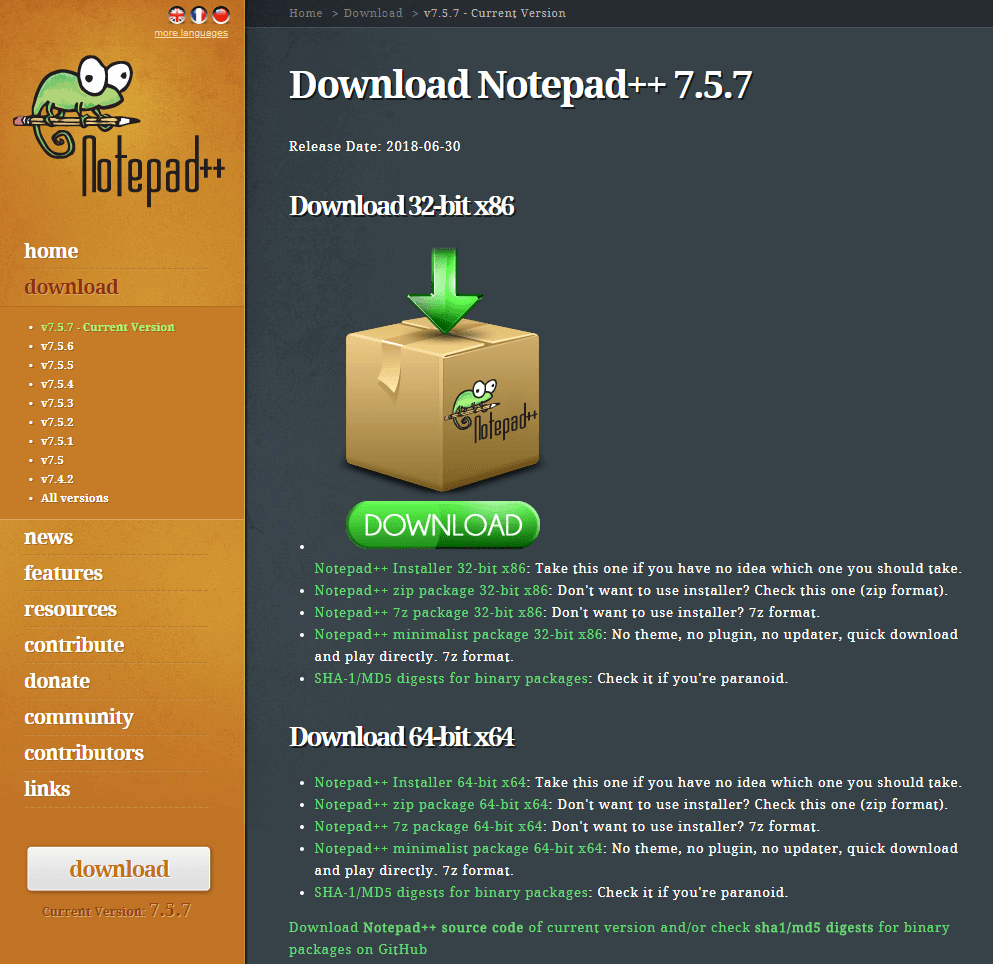
Figure 3.11   Notepad++ text editor download

This will download the npp.7.5.7.installer.exe file (at least it will if you are on a Windows system).

Run the file, there are a couple of install screens. On the first (Figure 3.12):

Figure 3.12 - Notepad++ install components

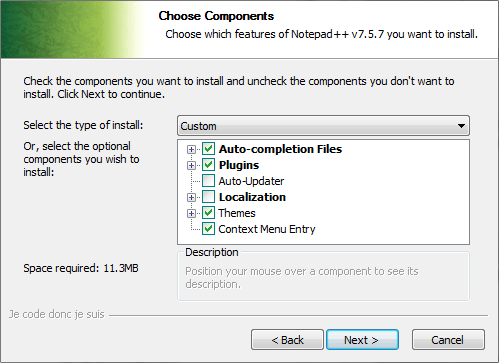
Figure 3.12   Notepad++ install components

Figure 3.13 - Notepad++ final options

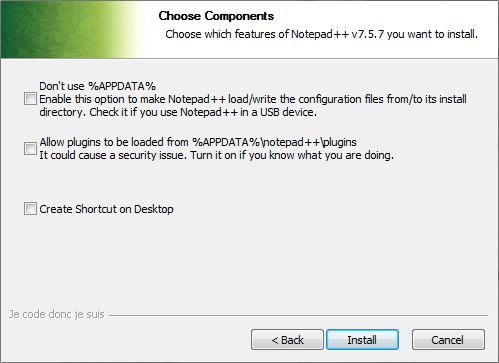
Figure 3.13   Notepad++ final options

I unchecked the auto-updater option, this is just my preference, Notepad++ can be a bit bothersome with updates, it pesters all the time and it annoys me so I’ve disabled the option (I’m a big boy now, I can choose when to update without being told).

Finally, on the next and last option screen (Figure 3.13), I’ve selected the create shortcut on desktop option (again, this comes in handy later on).

Click install and let it open afterwards. It looks like this Figure 3.14:

Figure 3.14 - Notepad++

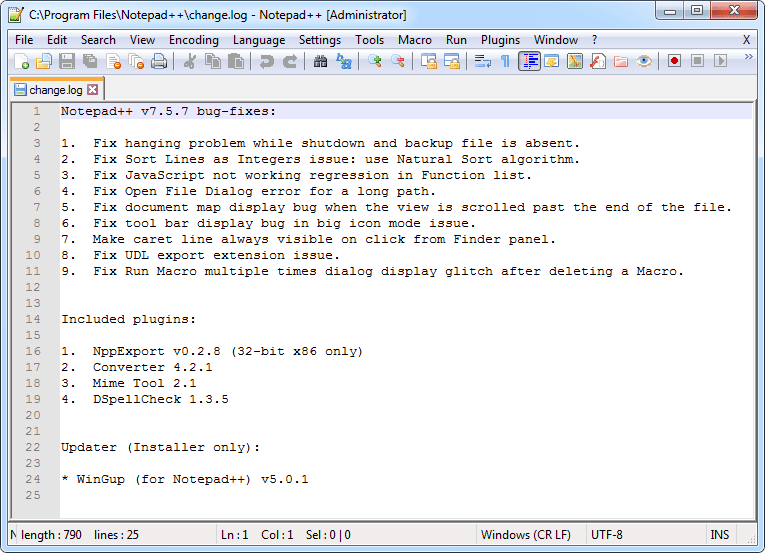
Figure 3.14   Notepad++

I don’t like the default white colour theme and I’ve changed it to a darker one (this is just my choice, pick the one you like best, or leave it as it is).

To change the colour theme, click settings → style configurator. This opens the Style Configuration dialogue box. At the top there is a select theme dropdown box that allows a whole range of themes to be adopted. The one I use is obsidian, select the one you want and click save and close to make the change.

Obsidian looks like this:

Figure 3.15 - Notepad++ Obsidian theme

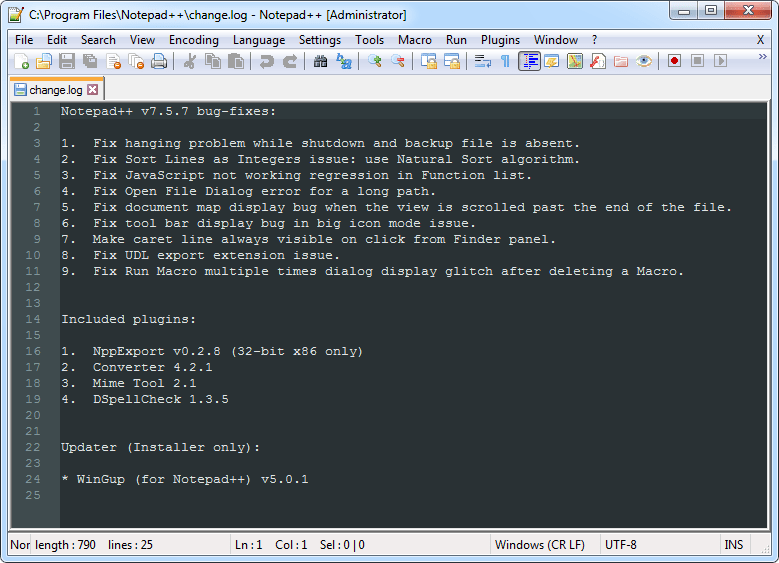
Figure 3.15   Notepad++ Obsidian theme

All the Notepad++ screen shots will have this theme selected.

†1 I may be confusing things here; I’m using Brackets as the interface to Git. When I say Brackets doesn’t work with Git, I mean as a command line editor in Git Bash. Brackets and its extensions manage Git in the Brackets development environment very well.

3.2.2

A difference and merge tool

This section is entirely optional; we don’t need a difference and merge tool for Bracket-Git (we’ll use Brackets directly). I’ve included it only for completeness; it finishes the Git installation properly (the command line stuff) and provides a much better tool for comparing the differences between files and allowing these files to be merged together in a sensible way if a conflict exists.

Install it if you want — it won’t make any difference (ha!) to what we do, and I won’t be using it. If you are tempted by the command line interface though, it will make life much easier.

The difference and merge tool highlights differences between two versions of the same file. This is usually required if two people have made changes to the same part of the same file. The merge aspect allows the differences to be reconciled and merged back into a single file.

Generally, I don’t like the idea of two people working on the same file at the same time, but it can happen and this is how Git deals with it. So it needs a merge tool.

The one I use is p4merge, this is a free package made by perforce and was recommended to me—I find it works well and is easy to use; that said, I haven’t tried any others (there’s a lot of them out there).

Perforce provide various management and technological development tools (at least I think they do — their website is full of those phrases that I read, and although I understand every word, I don’t actually know what they are saying. It’s some sort of managementeese language, understandable by managers but not by engineers — I shouldn’t be too rude, they are allowing people to use their stuff for free). Their website changes frequently and it can be difficult to find the download page. The easiest way is to do a google search for:

P4merge download

This gave me the following results (Figure 3.16):

Figure 3.16 - Search for P4Merge download

Figure 3.16   Search for P4Merge download

It’s the second one down and links to the download page. It will look something like Figure 3.17:

Figure 3.17 - Perforce products—P4Merge download

Figure 3.17   Perforce products—P4Merge download

Select the family and platform (in my case windows and windows x64) and click download. This gives the registration page (Figure 3.18):

Figure 3.18 - Perforce products—Registration

Figure 3.20   Perforce products—Registration

You don’t have to register, click skip registration. Finally, the download starts (got there in the end).

This will download the P4Merge installation file, in my case: p4inst64.exe.

Run the file, It may or may not install the redistributable version of C++ (depends if it is already installed), after which it opens a Helix Core splash screen, the following screen gives the Select Applications dialogue (Figure 3.19):

Figure 3.19 - P4Merge—Installation features

Figure 3.19   P4Merge—Installation features

Figure 3.20 - P4Merge—Required features

Figure 3.20   P4Merge—Required features

The only thing we need is the visual merge tool (p4merge), deselect everything else (Figure 3.20):

Click next and then install to install the programme, there are no more option screens.


End flourish image