3.1
Downloading and installing Git
The first thing to do is install Git. It’s available from the https://git-scm.com/ website. It looks like this:

Figure 3.1 Git website
Click the monitor screen to download the current version for your operating system. Going to downloads will give more download options (the monitor is ok for us).
This will download the install file, in my case this was:
git-2.18.0-64bit.exe
Run the install file and select the following options (there are a few of these):
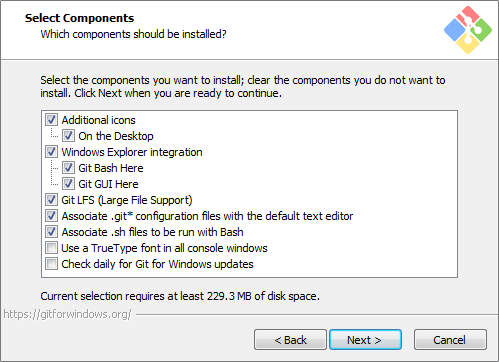
Figure 3.2 Git install—Components
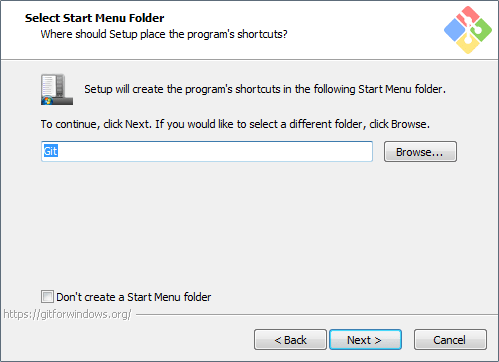
Figure 3.3 Git install—Start menu
The first screen can stay as it is (Figure 3.2) make sure the , tick box is selected, it gives a Git icon on the desktop (it comes in handy later on).
The second screen (Figure 3.3) can be left as it is, if you want a Start Menu folder (when you click the Windows start button), make sure the box at the bottom is unticked (that's what I did).
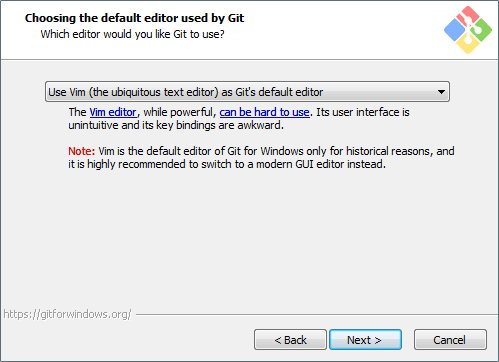
Figure 3.4 Git install—Default text editor
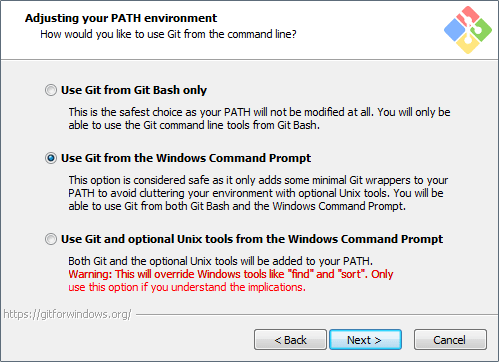
Figure 3.5 Git install—Path environment
The third screen (Figure 3.4) allows a default text editor to be used. At the minute we don’t have any text editors installed (apart from Windows Notepad, and we don’t want to use that). Leave it set to VIM (VIM is awful and we won’t be using that either) we will change it in the next section.
There are no changes to the next screen (Figure 3.5), leave the default settings selected.
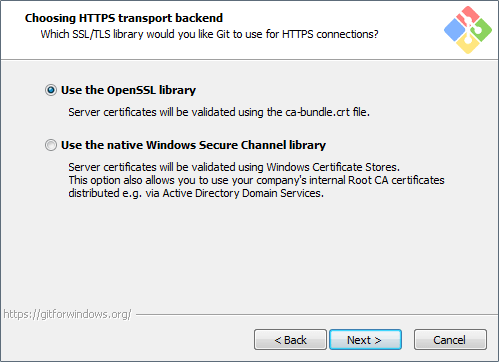
Figure 3.6 Git install—Choosing HTTPS transport
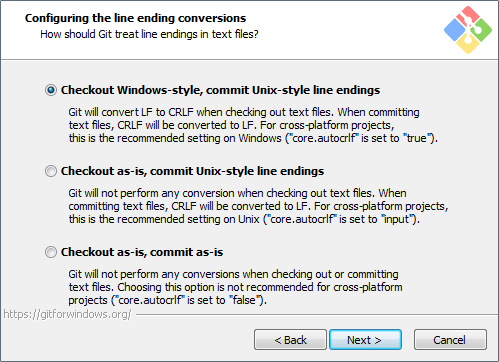
Figure 3.7 Git install—Line endings
Again no changes on the next two (Figure 3.6 and Figure 3.7). I’m using Windows so I want the . I don’t actually think it makes a great deal of difference. On the next screen (Figure 3.8), keep the for terminal emulation—terminal emulation? Really? Who the hell still uses terminal emulators? It’s not the 90s anymore.
Finally, the last screen (Figure 3.9), no changes here either:
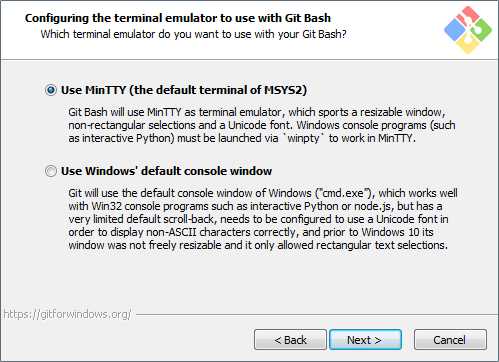
Figure 3.8 Git install—Terminal emulator
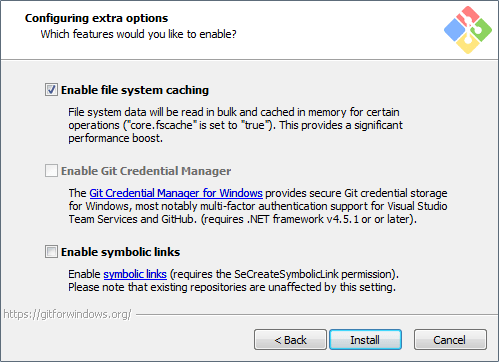
Figure 3.9 Git install—Extra options
After all this you will have a Git Bash icon on your desktop (what’s with these names—pretty sure that’s a euphemism for something):

Go on, click it—but brace yourself for the full bbc micro model b experience:
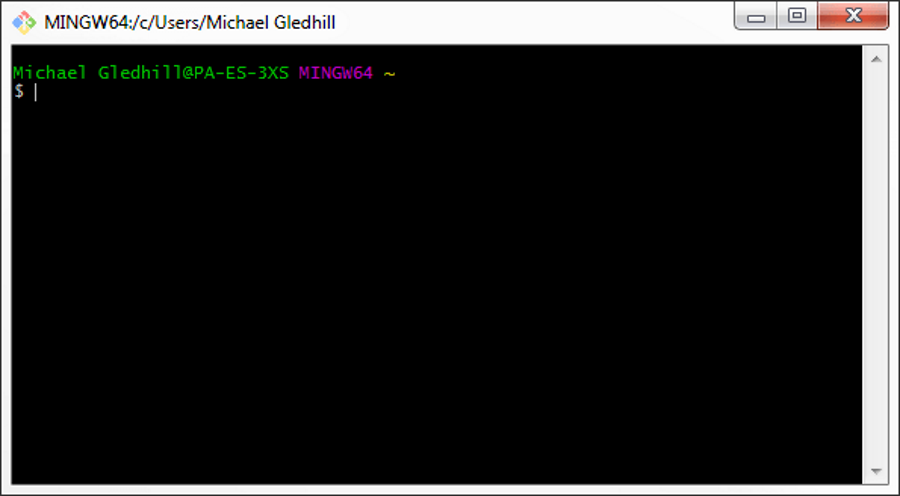
Figure 3.10 Git Bash
I think the window title should be read MinGW not MING W64 (English again: ming [noun, slang] an unpleasant smell—“It’s started to ming”).
So there we are; it’s 1980 and this is ceefax, can I get the weather?
Now with most Windows programmes, you can click and something happens, but not here. What should I do next? How do I make it work? What did it say on its website? “Git is easy to learn”—my hairy English arse it is.
I tried and †1 —nothing; still, I haven’t been killed by a dwarf yet.
I’m starting to think they got the names right. This program is a git, it is wank and it does smell bad.
| †1 | If you don’t know, you’re too young to be reading this and I’m too old to explain—try google. | ||
