8.2
Creating the remote repository
The first thing is to create an empty repository in GitHub:
Back to GitHub, log into your account. This is mine:
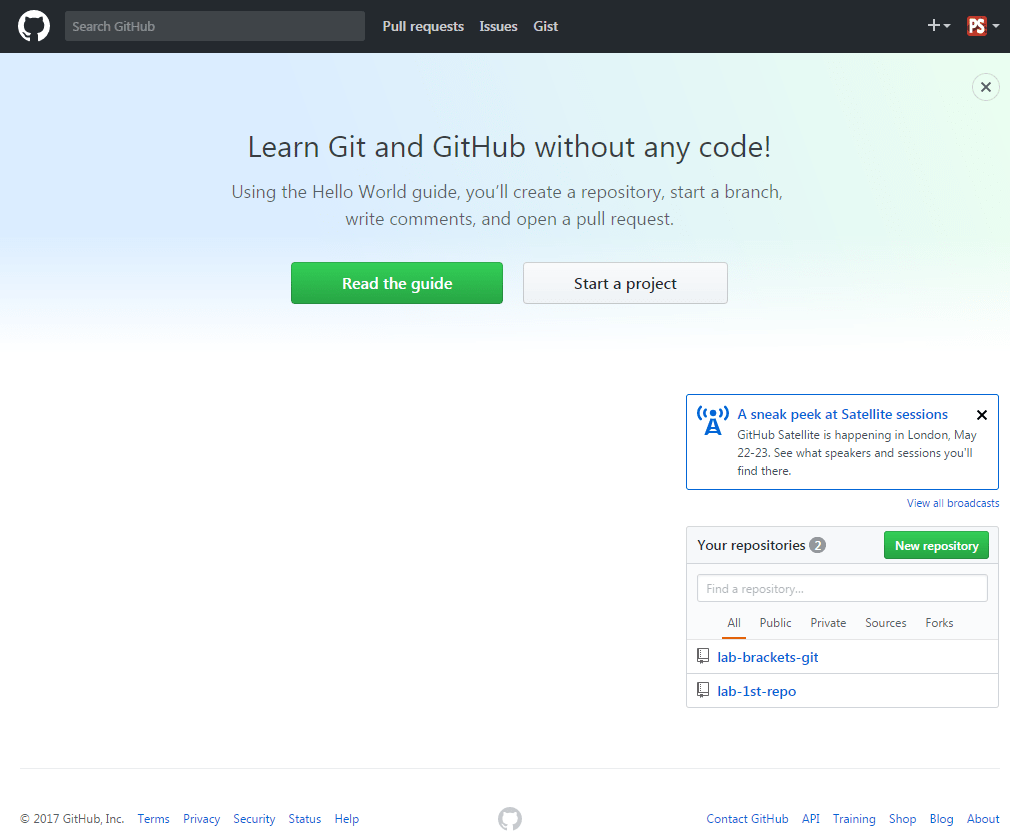
Figure 8.9 GitHub profile main page
There are currently two repositories: lab-1st-repo that we made in section 4.2 and lab-brackets-git that we made in section 5.2.
We’re now going to make a third repository for the lab-01-website that is currently in our local repository.
I’m going to give the remote repository the same name as the local repository, i.e.:
lab-01-website
It is not necessary for the names to be the same; I do it only to avoid confusion.
To create the new remote repository in GitHub, click either the button or the button (they both do the same).
Either option will open the Create new repository page. I’m going to select the following options (Table 8.2 and Figure 8.10):
| PROPERTY | VALUE | |
|---|---|---|
| Repository name | lab-01-website | |
| Description | A simple website repository used as an example to demonstrate how the Brackets-Git extension works | |
| Public/private | Public | |
| Initialise with README | Unticked (not selected) | |
| Add .gitignore | None | |
| Add a license | None | |
| Table 8.2 lab-01-website repository properties | ||

Figure 8.10 GitHub—Create the lab-01-website repository
Click and it will automatically open the repository page:
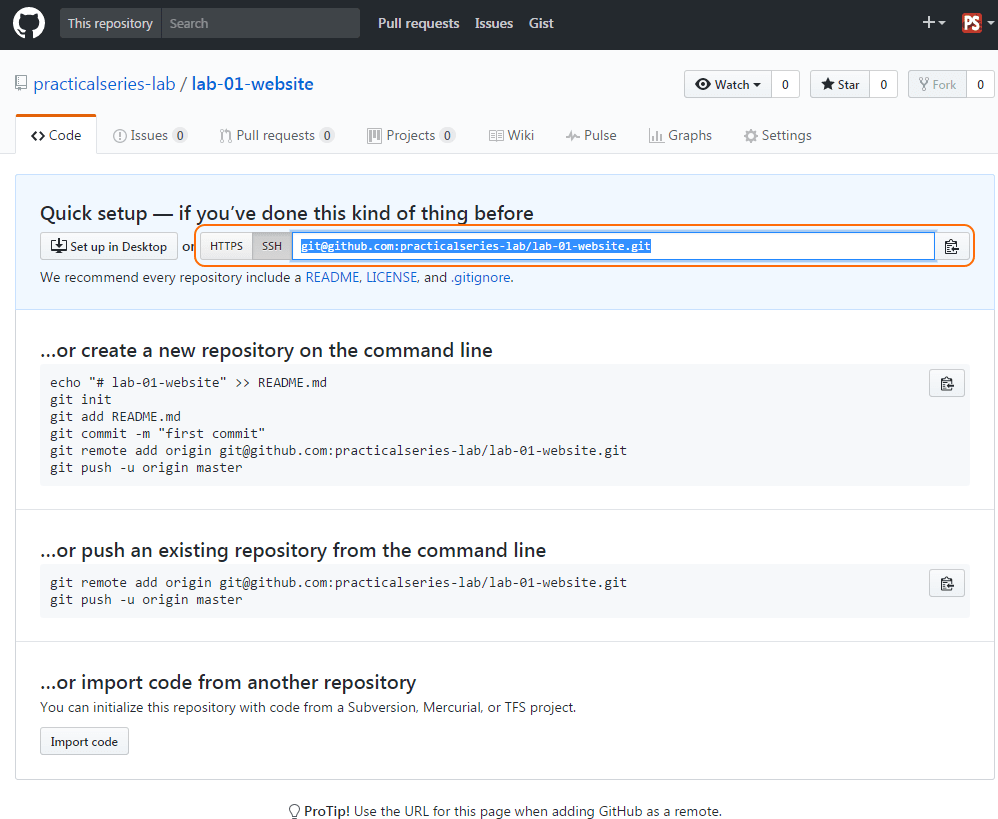
Figure 8.11 GitHub—lab-01-website repository page
This gives us a completely empty repository—GitHub is a bit complainy at this point (ok, I might have made that word up). It knows the repository is completely empty and it is telling us how to put something in it.
That’s next.
Make a note of, or copy the SSH URL from the GitHub repository page (highlighted in orange above), you will need this for what follows.
